DIY Home Improvement Projects For Beginners
DIY Home Improvement Projects for Beginners
Embarking on DIY home improvement can be incredibly rewarding, adding value and personalization to your living space while saving money. This guide presents simple, manageable projects perfect for beginners, building your confidence and skills along the way.
1. Painting a Room
Painting is arguably the most transformative and beginner-friendly DIY project. A fresh coat of paint can completely revitalize a room.
Materials You’ll Need:
- Paint (choose your desired color and finish – matte, satin, semi-gloss)
- Primer (recommended for covering dark colors or raw surfaces)
- Paintbrushes (various sizes for different areas)
- Paint rollers (with extension pole for ceilings and high walls)
- Paint tray
- Painter’s tape
- Drop cloths
- Spackle or joint compound (for patching holes)
- Sandpaper (fine-grit)
- Putty knife
- Cleaning supplies (soap, water, rags)
Steps:
- Preparation is Key: Cover furniture and floors with drop cloths. Tape off trim, windows, and door frames with painter’s tape. Fill any holes or imperfections in the walls with spackle, let it dry, and sand it smooth. Clean the walls with a damp cloth to remove dust and grime.
- Prime Time (If Necessary): Apply a coat of primer to the walls using a roller. This will help the paint adhere better and cover any existing colors. Let the primer dry completely according to the manufacturer’s instructions.
- Painting the Room: Pour paint into the paint tray. Load the roller evenly with paint, avoiding drips. Start painting the walls using a “W” pattern, then fill in the pattern. Use a paintbrush to paint edges and corners (also known as “cutting in”). Apply two coats of paint, allowing each coat to dry completely before applying the next.
- Clean Up: Carefully remove the painter’s tape while the paint is still slightly wet. Clean your brushes and rollers thoroughly with soap and water. Dispose of paint cans and drop cloths properly.
2. Installing a New Shower Head
Replacing a shower head is a quick and easy upgrade that can significantly improve your showering experience.
Materials You’ll Need:
- New shower head
- Adjustable wrench
- Plumber’s tape (Teflon tape)
- Clean cloths or towels
Steps:
- Turn off the Water: Locate the shut-off valve for your shower or the main water shut-off valve for your house and turn it off.
- Remove the Old Shower Head: Use the adjustable wrench to loosen the nut connecting the old shower head to the shower arm. Wrap a cloth around the nut to protect the finish. Unscrew the shower head completely.
- Clean the Shower Arm: Remove any old plumber’s tape from the shower arm threads. Clean the threads thoroughly.
- Apply Plumber’s Tape: Wrap plumber’s tape clockwise around the threads of the shower arm several times. This will create a watertight seal.
- Install the New Shower Head: Screw the new shower head onto the shower arm by hand. Then, use the adjustable wrench to tighten it securely, again using a cloth to protect the finish. Avoid overtightening.
- Test for Leaks: Turn the water back on slowly and check for leaks around the connection. If there are leaks, tighten the connection slightly or remove the shower head, apply more plumber’s tape, and reinstall.
3. Updating Cabinet Hardware
Swapping out old knobs and pulls on your kitchen or bathroom cabinets is a simple and inexpensive way to update the look of your space.
Materials You’ll Need:
- New cabinet knobs and pulls
- Screwdriver (Phillips head or flat head, depending on the hardware)
- Measuring tape (for consistent placement)
- Drill (optional, if new hardware requires different screw hole locations)
- Drill bits (if using a drill)
- Pencil
Steps:
- Remove the Old Hardware: Use the screwdriver to remove the screws holding the old knobs and pulls in place.
- Measure and Mark (If Necessary): If the new hardware has a different screw hole spacing than the old hardware, use the measuring tape to determine the center point for the new holes. Mark the location of the new holes with a pencil. Use a template, if provided with the hardware.
- Drill New Holes (If Necessary): If needed, use the drill and the appropriate size drill bit to drill new holes for the new hardware.
- Install the New Hardware: Insert the screws through the cabinet door or drawer and into the new knobs and pulls. Tighten the screws securely.
4. Creating a Gallery Wall
A gallery wall is a stylish way to display artwork, photos, and other decorative items. It’s also a great way to personalize a room and showcase your personality.
Materials You’ll Need:
- Frames (various sizes and styles)
- Artwork, photos, or other decorative items
- Measuring tape
- Pencil
- Level
- Hammer
- Nails or picture-hanging hooks
- Painter’s tape (optional, for planning)
Steps:
- Plan Your Layout: Before you start hammering nails into the wall, it’s helpful to plan your layout. One way to do this is to lay out the frames on the floor and experiment with different arrangements. Another option is to use painter’s tape to outline the frames on the wall.
- Measure and Mark: Once you’ve decided on a layout, use the measuring tape and pencil to mark the location of each frame on the wall. Use the level to ensure that the frames are straight.
- Hang the Frames: Hammer nails or install picture-hanging hooks into the wall at the marked locations. Hang the frames on the nails or hooks.
- Adjust and Refine: Step back and take a look at your gallery wall. Adjust the frames as needed until you’re happy with the overall arrangement.
5. Installing Floating Shelves
Floating shelves are a modern and stylish storage solution that can be easily installed in any room.
Materials You’ll Need:
- Floating shelves
- Shelf brackets (usually included with the shelves)
- Level
- Measuring tape
- Pencil
- Drill
- Drill bits (sized appropriately for the screws and wall anchors)
- Wall anchors (if installing into drywall)
- Screwdriver
Steps:
- Determine Placement: Decide where you want to install the floating shelves. Use the measuring tape and level to mark the desired location on the wall.
- Locate Studs (Recommended): Ideally, you should attach the shelf brackets to wall studs for maximum stability. Use a stud finder to locate the studs behind the drywall. If you can’t locate studs, you’ll need to use wall anchors.
- Install the Brackets: Hold the shelf bracket against the wall at the marked location. Use the pencil to mark the screw hole locations on the wall. Drill pilot holes at the marked locations. If using wall anchors, install them into the pilot holes according to the manufacturer’s instructions. Secure the brackets to the wall with screws. Use the level to ensure that the brackets are level.
- Attach the Shelves: Slide the floating shelves onto the brackets. Make sure the shelves are securely attached to the brackets.
Tips for Success
- Start Small: Don’t tackle a huge project for your first DIY endeavor. Choose something manageable and build your skills gradually.
- Do Your Research: Before you start any project, research the necessary steps, tools, and materials. Watch online tutorials and read instructions carefully.
- Gather Your Supplies: Make sure you have all the necessary materials and tools before you start working. This will prevent frustration and delays.
- Take Your Time: Don’t rush through the project. Pay attention to detail and take your time to do things right.
- Don’t Be Afraid to Ask for Help: If you get stuck, don’t be afraid to ask for help from a friend, family member, or online community.
- Safety First: Always wear appropriate safety gear, such as eye protection and gloves, when working on DIY projects.
With a little planning and effort, anyone can successfully complete these beginner-friendly home improvement projects. Enjoy the process, and be proud of the improvements you make to your home!
 640×1000 diy home improvement projects laugh rowe from livelaughrowe.com
  1240×1240 beginners guide diy projects tools spotlight from www.houselogic.com
 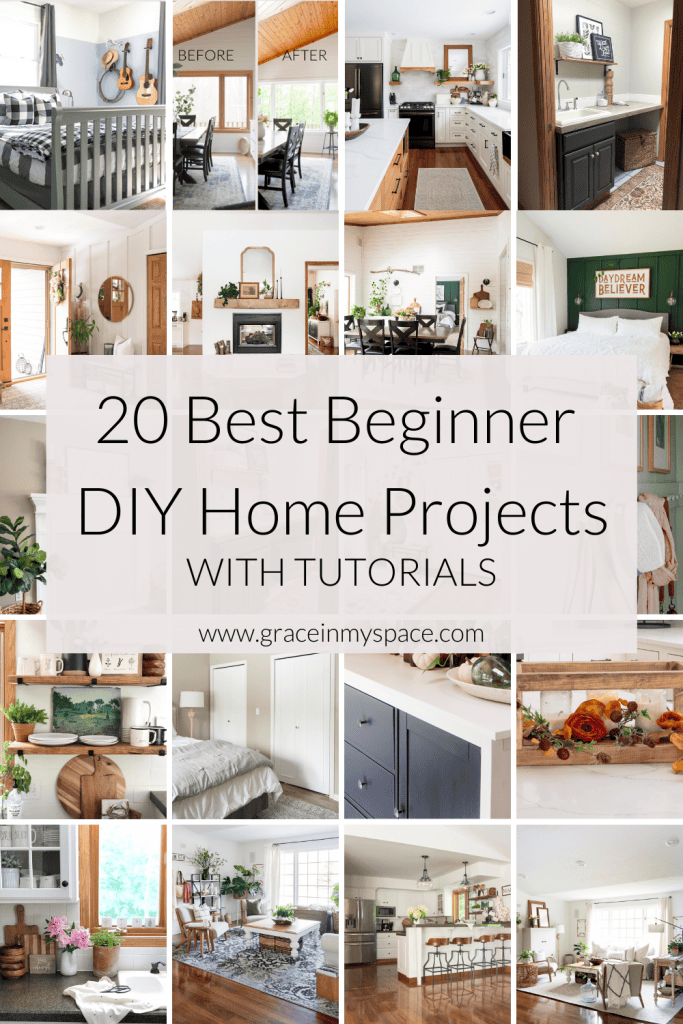 683×1024 diy home projects beginners grace space from graceinmyspace.com
  1000×1500 diy home improvement projects beginners chas crazy creations from chascrazycreations.com
  600×498 diy home improvement ideas budget friendly ideas diy decor mom from www.diydecormom.com
  750×462 easy diy home improvement projects beginners top ideas from www.techglobex.net
  1140×761 diy home improvement projects weekend kids from forkidsandmoms.com
 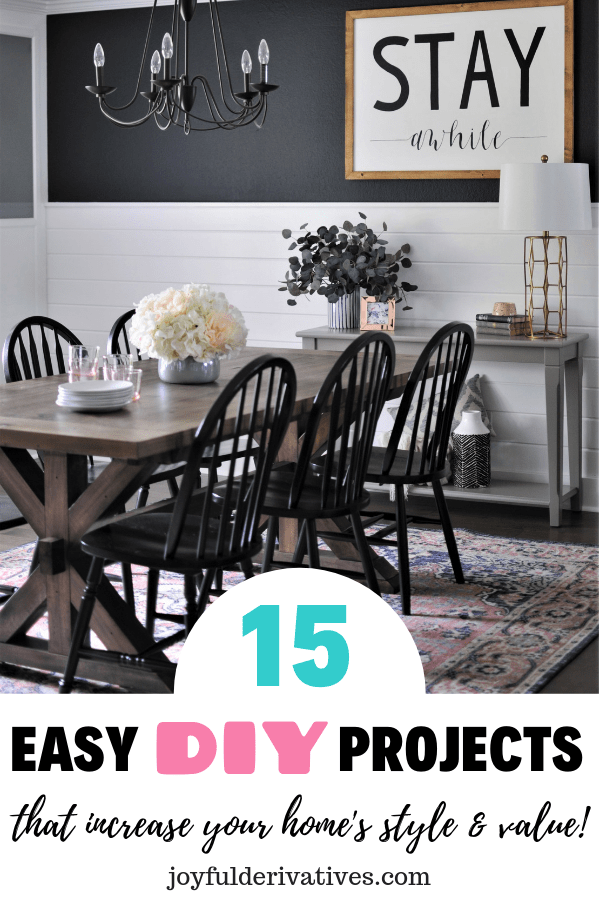 600×900 easy diy projects home improvements joyful derivatives from joyfulderivatives.com
  1000×1000 diy projects home improvement easy diyideacentercom from www.diyideacenter.com
  775×1163 coolest diy home improvement projects shelterness from www.shelterness.com
  700×1000 fantastic diy home improvement projects health home heart from healthhomeandheart.com
  600×857 diy home improvement projects refresh restyle from refreshrestyle.com
  500×500 diy projects home improvement diyideacentercom from www.diyideacenter.com
  600×900 simple diy home improvement projects from novembersunflower.com
  700×900 diy home improvement ideas beginners koala mom from thekoalamom.com
  610×915 cheap easy home improvement projects living cheap from livingonthecheap.com
  683×1024 diy home improvement projects domestically speaking from www.domestically-speaking.com
  600×900 quick easy diy home improvement projects home from www.onecrazyhouse.com
 Thank you for visiting DIY Home Improvement Projects For Beginners. There are a lot of beautiful templates out there, but it can be easy to feel like a lot of the best cost a ridiculous amount of money, require special design. And if at this time you are looking for information and ideas regarding the DIY Home Improvement Projects For Beginners then, you are in the perfect place. Get this DIY Home Improvement Projects For Beginners for free here. We hope this post DIY Home Improvement Projects For Beginners inspired you and help you what you are looking for.
DIY Home Improvement Projects For Beginners was posted in June 20, 2025 at 2:32 am. If you wanna have it as yours, please click the Pictures and you will go to click right mouse then Save Image As and Click Save and download the DIY Home Improvement Projects For Beginners Picture.. Don’t forget to share this picture with others via Facebook, Twitter, Pinterest or other social medias! we do hope you'll get inspired by SampleTemplates123... Thanks again! If you have any DMCA issues on this post, please contact us!